Installing hardwood flooring is not a single-day job. It is a sequenced process that starts with an in-home assessment and ends with a cured, finished floor you can walk on with confidence. For most Columbia, TN and Middle Tennessee homes, the full hardwood flooring process takes 5 to 10 days from first visit to final walkthrough, with acclimation and finishing driving most of the timeline.
This guide walks you through every step: what happens, why it matters, how long it takes, and the Middle Tennessee humidity factors that decide whether your floor lasts 50 years or cups by its second summer.
Quick Answer: What Is the Hardwood Flooring Process?
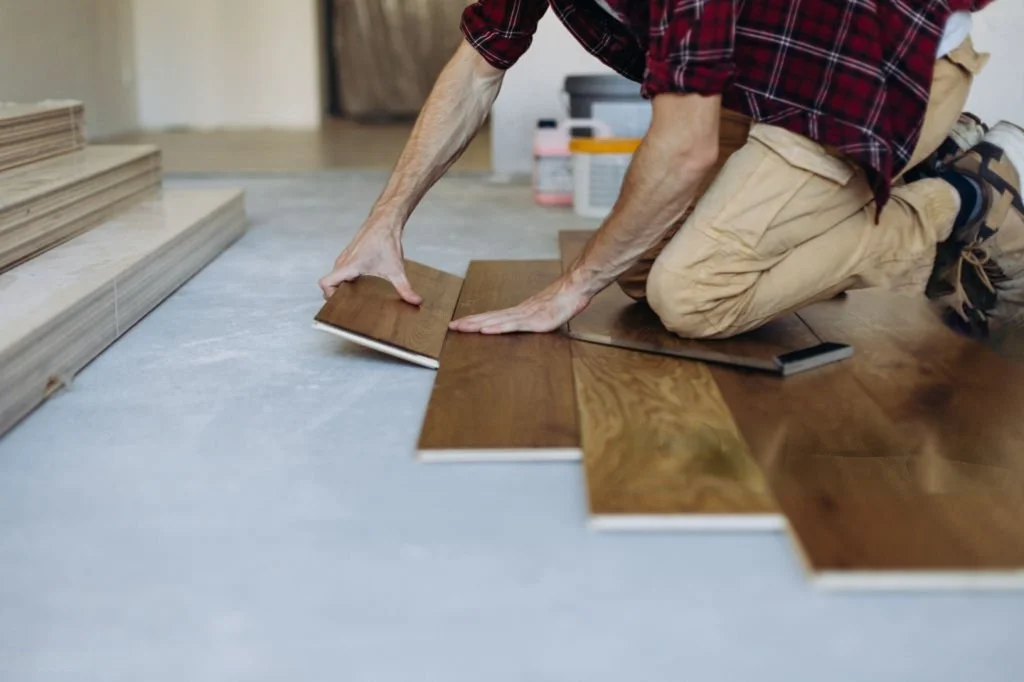
The hardwood flooring process is the sequenced set of steps that take a hardwood floor from material selection to finished install. It covers nine stages:
- In-home assessment
- Material selection
- Subfloor preparation
- Delivery and acclimation
- Choosing the installation method
- Laying the planks
- Sanding (for site-finished floors)
- Staining and sealing
- Curing and final walkthrough
Each stage protects the next. Skip one and the floor shows it, often within a season.
Hardwood Flooring Process at a Glance
Here is the full timeline, stage by stage, for a typical Columbia or Middle Tennessee home:
| Stage | Typical Duration | What Happens |
|---|---|---|
| 1. Assessment & Measurement | 1 visit (45 to 90 min) | Measure, inspect subfloor, test moisture, discuss species and finish |
| 2. Material Selection & Order | 1 to 7 days | Pick species, finish, and grade; place order; schedule delivery |
| 3. Subfloor Preparation | 1 day | Remove old flooring, repair, level, and clean |
| 4. Acclimation | 3 to 7 days (sometimes 10+) | Planks adjust to the home's temperature and humidity |
| 5. Installation | 1 to 3 days per 1,000 sq ft | Nail-down, glue-down, or floating install |
| 6. Sanding (site-finished only) | 1 to 2 days | Progressive sanding passes with dust containment |
| 7. Staining & Sealing | 1 to 3 days | Stain, then 2 or 3 polyurethane coats with dry time |
| 8. Curing | 24 hrs light use, 7+ days full cure | Finish cures to full hardness |
| 9. Final Walkthrough | About 1 hour | Punch-list review and written care instructions |
For a 1,000 sq ft project in Columbia, expect 5 to 7 days with prefinished engineered hardwood or 8 to 14 days with solid, site-finished hardwood.
Why Middle Tennessee Humidity Changes the Process
This is the step most national guides skip, and it is exactly where Columbia, TN installations go wrong.
Middle Tennessee sits in a humid subtropical climate zone. Columbia, Franklin, Spring Hill, and Nashville all swing from humid summers with mid-70s dew points to dry, heated winters where indoor relative humidity can drop well below 30%. Hardwood is an organic material that absorbs and releases moisture with the air around it. A plank installed at 50% relative humidity will expand in July and contract in January.
The National Wood Flooring Association (NWFA) recommends installing hardwood only when the indoor environment is held at 60 to 80°F and 30 to 50% relative humidity, and when the moisture content of the wood is within 2 to 4% of a wood subfloor (or roughly 2% of a concrete subfloor). That is not just a manufacturing recommendation. It is a warranty condition. In Middle Tennessee, that means the HVAC should be running at service levels for at least 14 days before planks arrive, and the installer should document moisture readings on the invoice.
If a contractor skips moisture testing or installs the floor the same day the hardwood is delivered, you are going to see cupping, gaps, or buckling within one Tennessee humidity cycle. This is the single biggest process failure in local hardwood installs.
Step 1: In-Home Assessment & Measurement
The first appointment should be an on-site visit, not a square-footage estimate over the phone. A good hardwood installer will:
- Walk every room where hardwood will go
- Check the subfloor type: plywood, OSB, concrete slab, or existing finish
- Measure for square footage and account for 7 to 10% waste
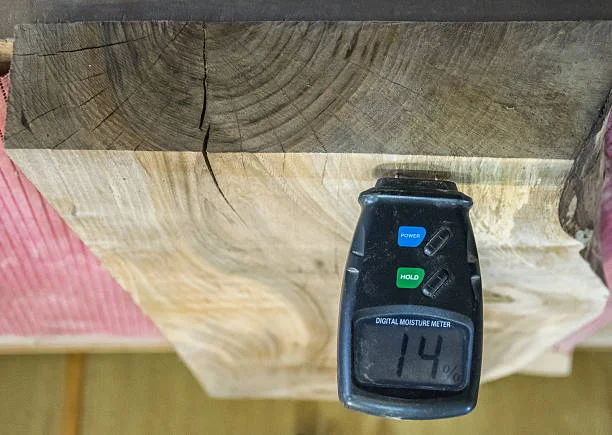
- Test moisture in both the subfloor and the air with a digital moisture meter and hygrometer
- Note transitions (doorways, stairs, hearths) that affect labor
- Discuss species, grade, finish, and plank width
What to look for: an installer who writes down actual moisture readings, not just "looks dry." Documented readings matter later if a warranty issue comes up.
Step 2: Material Selection
Species and grade choice is both aesthetic and structural. In Middle Tennessee homes, oak dominates. White oak and red oak are the regional classics because they are hard, stable, and refinish beautifully. Hickory is harder than oak and reads more rustic. Maple is lighter but softer. Walnut is softer still, warmer in color, and best suited to lower-traffic rooms.
Solid vs. Engineered Hardwood
Solid hardwood is a single piece of wood, typically ¾-inch thick. It can be sanded and refinished multiple times, and it performs best over wood subfloors on or above grade.
Engineered hardwood has a real wood wear layer bonded to a stable plywood core. It handles humidity swings better and can be installed over concrete slabs (common in Maury County and Nashville basements) using glue-down or floating methods.
For a Columbia home with a crawl space and seasonal humidity swings, engineered is often the smarter long-term call, especially for first-floor open plans.
Prefinished vs. Site-Finished
Prefinished boards arrive sealed from the factory. There are fewer days of mess, no VOC off-gassing in your home, and often an aluminum-oxide finish that outlasts site-applied urethane. The trade-off is visible micro-bevels between boards.
Site-finished boards are installed raw, then sanded and finished in place. This produces a seamless, totally flat surface and lets you match an older floor exactly. It also adds 3 to 5 days to the timeline, and the home needs to be empty of furniture, pets, and sometimes people during finishing.
Step 3: Subfloor Preparation
A hardwood floor is only as good as what is underneath it. Before any planks are laid, the subfloor needs to be:
- Flat: within 3/16" over 10 feet is the NWFA standard
- Dry: plywood subfloor moisture below 12%; concrete slab tested for both surface moisture and vapor emission
- Clean: all adhesive, carpet staples, debris, and old finish removed
- Structurally sound: no squeaks, no loose panels, no rot (especially around toilets, washers, and exterior walls)
In older Columbia and Maury County homes, this stage often turns up surprises: cracked plywood, water damage near HVAC runs, or an unlevel section where a wall was moved. Addressing these now, rather than hiding them under hardwood, is non-negotiable.
For slab-on-grade installations, a vapor retarder or self-leveling moisture barrier may be required before the hardwood goes down.
Step 4: Delivery & Acclimation
Acclimation is the step that national blogs mention and local contractors sometimes shortcut. Here is how it actually works.
When hardwood arrives, it has been shipped and stored in conditions different from your home. Before it is installed, the moisture content of the wood needs to equalize with the moisture content of the room. This equalization point is called the equilibrium moisture content, or EMC.
NWFA-Aligned Acclimation Protocol
- Deliver boxes directly to the install rooms (not a garage, not a basement)
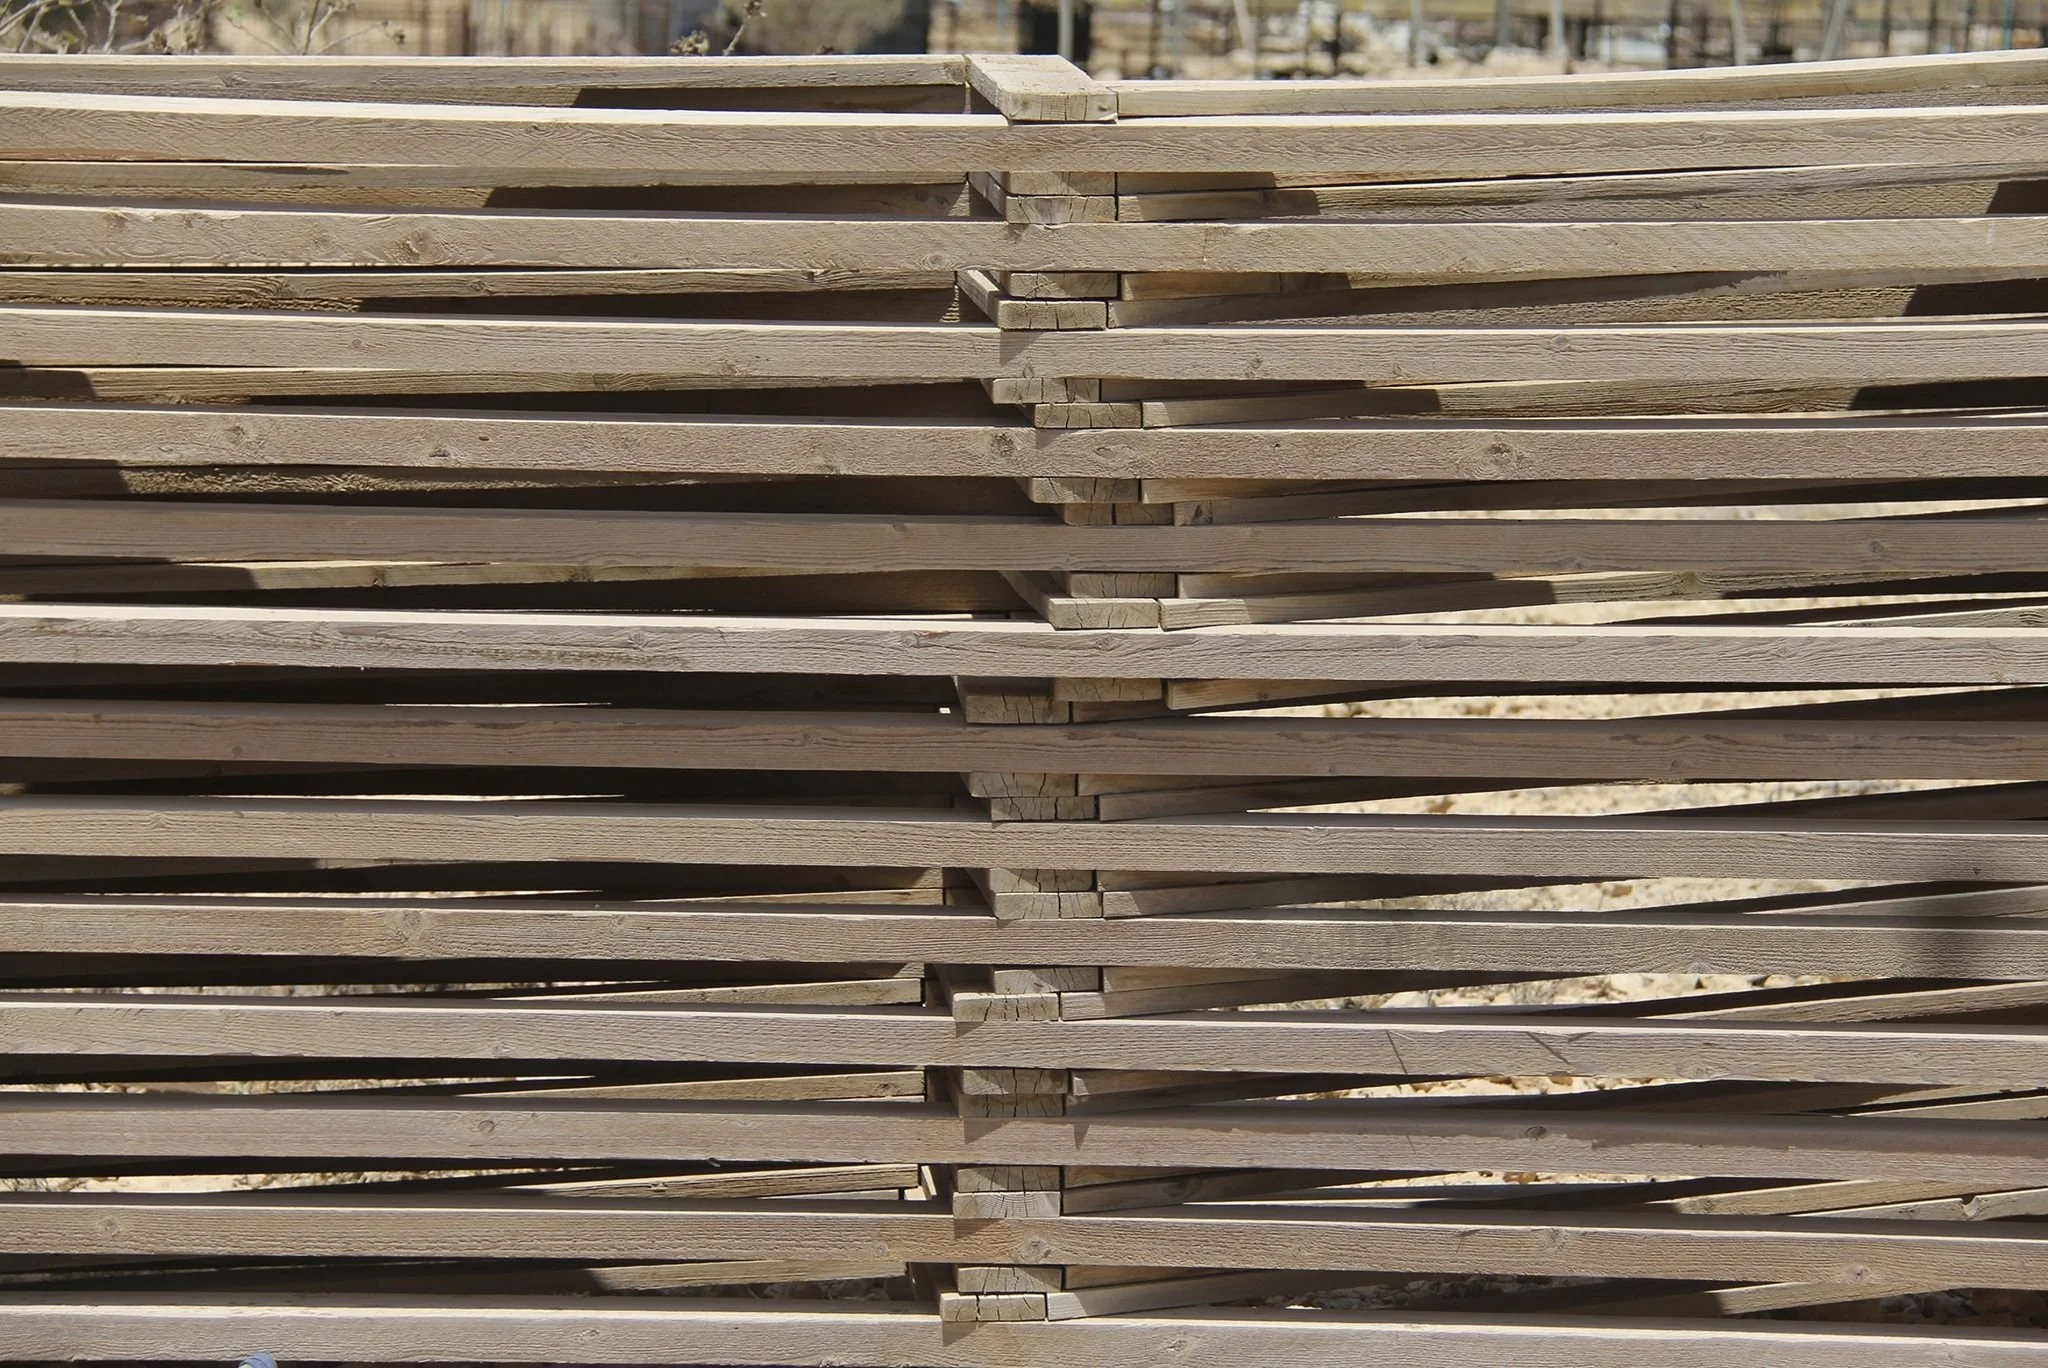
- Open or cross-stack the boxes to expose planks to air
- Keep the HVAC running at normal living temperatures (60 to 80°F)
- Hold relative humidity between 30 and 50%
- Let the wood sit a minimum of 3 days. Commonly 5 to 7, sometimes 10+ for wide-plank or exotic species
- Measure with a moisture meter until the wood is within 2 to 4% of a wood subfloor (or roughly 2% of concrete)
- Record the readings and the subfloor reading on the install documentation
Rushing this step is the number-one cause of hardwood floor failure. Not bad planks, not bad installers.
Step 5: Choosing the Installation Method
Three methods exist, and the subfloor, the product, and the manufacturer's instructions decide which one applies.
| Method | Works With | Best Subfloor | Notes |
|---|---|---|---|
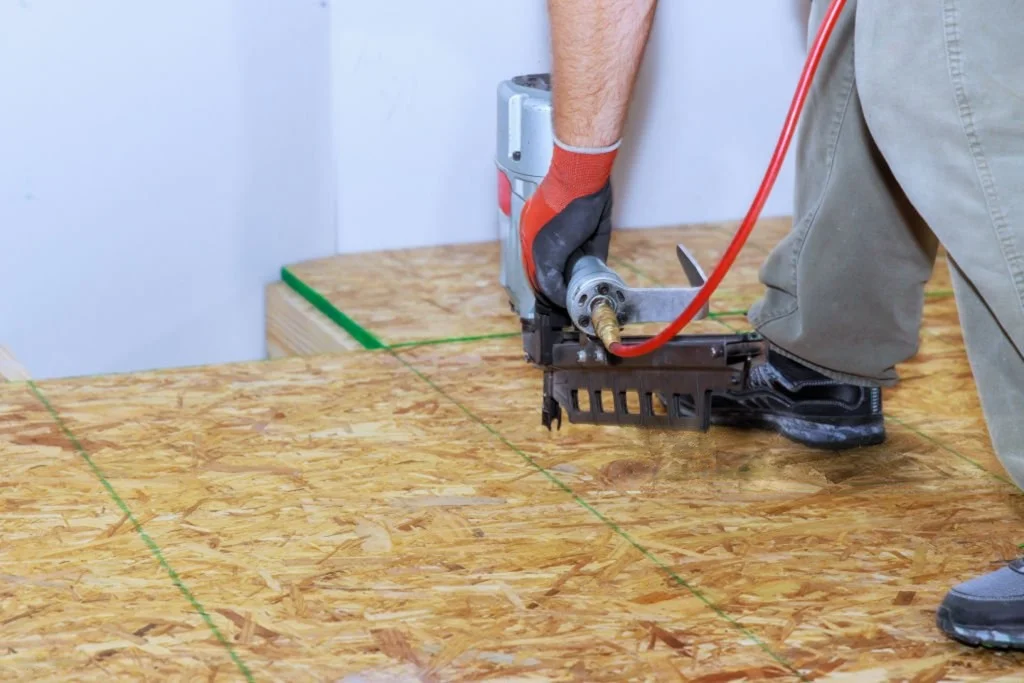
| Nail-down | Solid hardwood, some engineered | Plywood or OSB on/above grade | Traditional, firmest feel, best for ¾" solid |
| Glue-down | Engineered (and some solid) | Concrete slab or plywood | Required for most slab installs; strong, quiet |
| Floating | Engineered (click-lock) | Concrete or wood with underlayment | Fastest; good for some remodels and over existing flooring |
Solid hardwood over a Columbia basement slab? That is a product mismatch. Go engineered glue-down instead. Floating a solid wide plank over a crawl-space subfloor? Expect movement. The installation method should match the product and the substrate, and a licensed installer will check the manufacturer spec sheet rather than improvise.
Step 6: Installing the Planks
Even the physical install has invisible craft that affects how the floor ages:
- Rack from multiple boxes. Mixing planks from 4 to 6 boxes blends grain and color variation, so no section looks like one dye lot.
- Follow the longest sight line. Planks typically run perpendicular to floor joists and parallel to the primary light source or longest hallway.
- Stagger end joints at least 6 inches (some manufacturers specify 12 inches for wide planks).
- Leave an expansion gap. Typically ½ to ¾ inch at every vertical obstruction such as walls, cabinets, pipes, and hearths. The baseboard or shoe molding hides it.
- Install trim and transitions last, nailed to the wall and not through the hardwood, so the floor can still move seasonally.
A skilled 2-person crew installs about 750 to 1,000 square feet of hardwood per day. More installers do not automatically mean a faster install. They can mean a sloppier one.
Step 7: Sanding (Site-Finished Floors Only)
If you have chosen prefinished hardwood, skip this step. For site-finished floors, sanding is a progressive process with three to four passes using decreasing grit:
- 36-grit to level the floor
- 60 to 80 grit to remove the scratch pattern from the first pass
- 100 to 120 grit for a fine finish that accepts stain evenly
The final pass uses an edger around the perimeter, where a drum sander cannot reach. A proper dust-containment system (vacuum-attached sanders) keeps airborne dust under control, so your HVAC filters do not get coated. If your installer is not running dust containment in 2026, that is a red flag.
Step 8: Staining & Sealing
Stain brings out grain and color; sealant protects it.
Stain is wiped on, allowed to penetrate, and then wiped off. Drying time depends on the product (water-based stains dry in 2 to 4 hours, oil-based in 8 to 24).
Finish Coats
- Oil-based polyurethane ambers over time, has a longer dry time (8 to 10 hours per coat), and releases VOCs during application
- Water-based polyurethane stays clearer, dries in 2 to 4 hours per coat, has lower VOCs, and needs more coats
Most site-finished floors receive 2 or 3 finish coats with a light screen between coats. Expect 1 to 3 days total for staining and sealing.
Step 9: Curing & Final Walkthrough
Finish coats dry on the surface quickly but take days to cure (reach full hardness).
Reasonable Rules for a Water-Based Polyurethane
- Light foot traffic (socks only): 24 hours after final coat
- Reinstall furniture (with felt pads): 72 hours
- Rugs: 2 weeks
- Full cure: 7 to 14 days
Oil-based finishes typically need longer. The final walkthrough covers the punch list: any boards you want replaced, any touch-ups, and a written care sheet from your installer.
Hardwood Flooring Cost in Columbia, TN
Most hardwood flooring projects in Columbia and across Middle Tennessee run $8 to $14 per square foot installed. Factors that move the number:
- Species: oak and hickory sit mid-range, while walnut and exotic species cost more
- Solid vs. engineered: comparable overall, but engineered can save on subfloor prep over concrete
- Site-finished vs. prefinished: site-finished adds 15 to 25% in labor
- Subfloor repairs: plywood replacement, leveling, or moisture mitigation
- Pattern work: herringbone, chevron, or borders double install time
A 1,000 sq ft installation typically lands between $8,000 and $14,000 all-in. Refinishing an existing hardwood floor runs $3 to $5 per square foot. This is a strong option when the floor is structurally sound and you just want it to look new again.
Columbia homeowners can schedule a free in-home hardwood assessment with Willow Flooring to get a documented quote with moisture readings and a timeline.
Get a documented quote with moisture readings, species options, and a timeline.
Schedule a free in-home hardwood assessmentWhat Can Go Wrong (And Why)
Most hardwood floor failures trace back to one of five process shortcuts:
- Cupping (edges rise above center): subfloor moisture too high at install, or ambient humidity spiked without climate control
- Crowning (center rises above edges): floor was sanded while cupped, or moisture entered the top of the plank after install
- Buckling or lifting: major moisture event, or expansion gap too small
- Gaps or separation: installed at high humidity, dried out in winter; or acclimation was skipped and the wood equalized after install
- Squeaks or hollow spots: subfloor was not flat enough, or adhesive coverage was uneven on glue-downs
Every one of these is preventable. They are process failures, not product failures.
7 Questions to Ask Before You Hire a Hardwood Installer in Columbia, TN
- Do you record moisture readings for the wood and the subfloor on the invoice? (Yes = professional. No = walk away.)
- What is your acclimation protocol, and how many days do you require?
- Are you installing to the manufacturer's specification sheet? (Ask to see it.)
- What expansion gap are you leaving, and how will you cover it?
- Do you use dust-containment sanders? (For site-finished only.)
- What is the written warranty on labor, and what voids it?
- Can you share references from installs you did 2 or more years ago? (New floors always look good. The real test is a Tennessee summer-to-winter cycle.)
First 30, 60, 90 Days After Installation
The install is complete, but the process is not finished.
Days 1 to 30
- Keep HVAC on and hold humidity between 30 and 50%
- Avoid dragging furniture, and use felt pads under every leg
- No wet mopping. Use microfiber dust mops only
- Do not rush rugs back onto the floor. Wait 2 weeks
Days 30 to 60
- Watch for small gaps opening as humidity drops into fall. This is seasonal and normal
- Address any squeaks or lifting now, while labor is often still under warranty
Days 60 to 90
- Clean with a hardwood-specific cleaner (not vinegar, not Pine-Sol, not Swiffer wet pads)
- Check felt pads and replace worn ones
- Note any boards you want touched up before the first-year walkthrough
A floor cared for in the first 90 days ages well for the next 50.
Frequently Asked Questions
How long does the full hardwood flooring process take?
For most Columbia, TN homes, the full process runs 5 to 10 days from first visit to final walkthrough for prefinished floors, and 8 to 14 days for site-finished floors. Acclimation and finish curing drive most of that time.
Can hardwood be installed over concrete in Columbia, TN?
Yes, but only engineered hardwood using glue-down or floating methods. Solid hardwood should not be nailed to concrete. The slab must be tested for moisture before install.
What time of year is best to install hardwood in Middle Tennessee?
Spring and fall are ideal because indoor humidity is naturally closer to the 30 to 50% target range. Winter installs can work with proper humidification, and summer installs work with air conditioning running at service levels.
Do I have to leave the house during installation?
For prefinished installs, no. Most of the work is mess-contained and done in sections. For site-finished floors with sanding and staining, plan to be out for 3 to 5 days, especially with oil-based finishes.
How long before I can walk on new hardwood?
Prefinished floors: immediately after install. Site-finished water-based finish: 24 hours in socks, 72 hours with shoes, 2 weeks before rugs. Oil-based finishes need longer.
Will hardwood work in a Columbia basement?
Only engineered hardwood. Solid hardwood is not approved below grade because of moisture. Even with engineered, verify the slab moisture reading and vapor emission before install.
How do I know if my hardwood installer is qualified?
Look for installers who document moisture readings on invoices, follow NWFA installation guidelines, and provide a written labor warranty. For reference guidance on moisture measurement, Wagner Meters' hardwood acclimation guide is a trusted industry resource.
Ready to Start Your Hardwood Flooring Project in Columbia, TN?
Willow Flooring has been installing, refinishing, and repairing hardwood floors across Columbia and Middle Tennessee since 2004. Every project starts with a free in-home assessment where we measure, test moisture, and talk through species and finish choices before anything is ordered.
If you are planning hardwood in Nashville, Franklin, Spring Hill, or anywhere across Middle Tennessee, we handle the full process. Moisture readings included, timelines documented, and nothing hidden.
Schedule your free in-home hardwood flooring estimate →